
Gooey, salty with a hint of browned butter nuttiness; these salted brown butter rice krispie treats are everyone’s favorite.
When I found myself with tons of leftover marshmallows after the holidays I thought about what I could make using them and these rice krispie treats ended up being the winner. A classic recipe that I elevated a bit by browning the butter and topping with some festive sprinkles. Of course I added some Maldon sea salt for the sweet salty combo I love so much.
Why You’ll Love This Recipe
- Easy to make
- Can leave them plain or add sprinkles depending on the occasion
- Gluten-free

Ingredients
Butter – Use your favorite salted butter
Rice Krispie Cereal – You will need 6 cups
Mini Marshmallows – Mini marshmallows take a bit less time to melt
Sprinkles/Jimmies (Optional) – Use your favorite to celebrate fun occasions
Maldon Sea Salt (Optional) – You can use any flaky sea salt for a bit of that sweet salty combo
Instructions
- Lightly grease a 13 x 9 pan with butter or cooking spray.
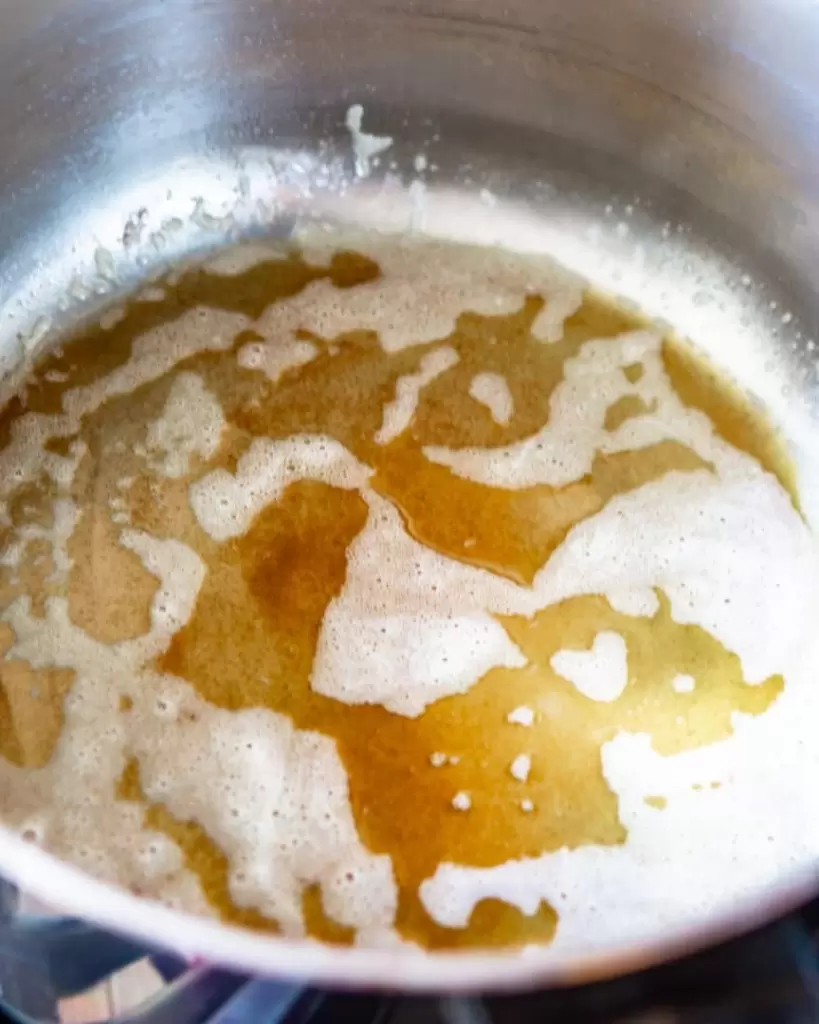
- In a large dutch oven or heavy bottom pot melt the butter on low heat until tiny brown bits form at the bottom of the pot approximately 5-7 minutes. Keep a careful eye on it so the butter doesn’t burn.
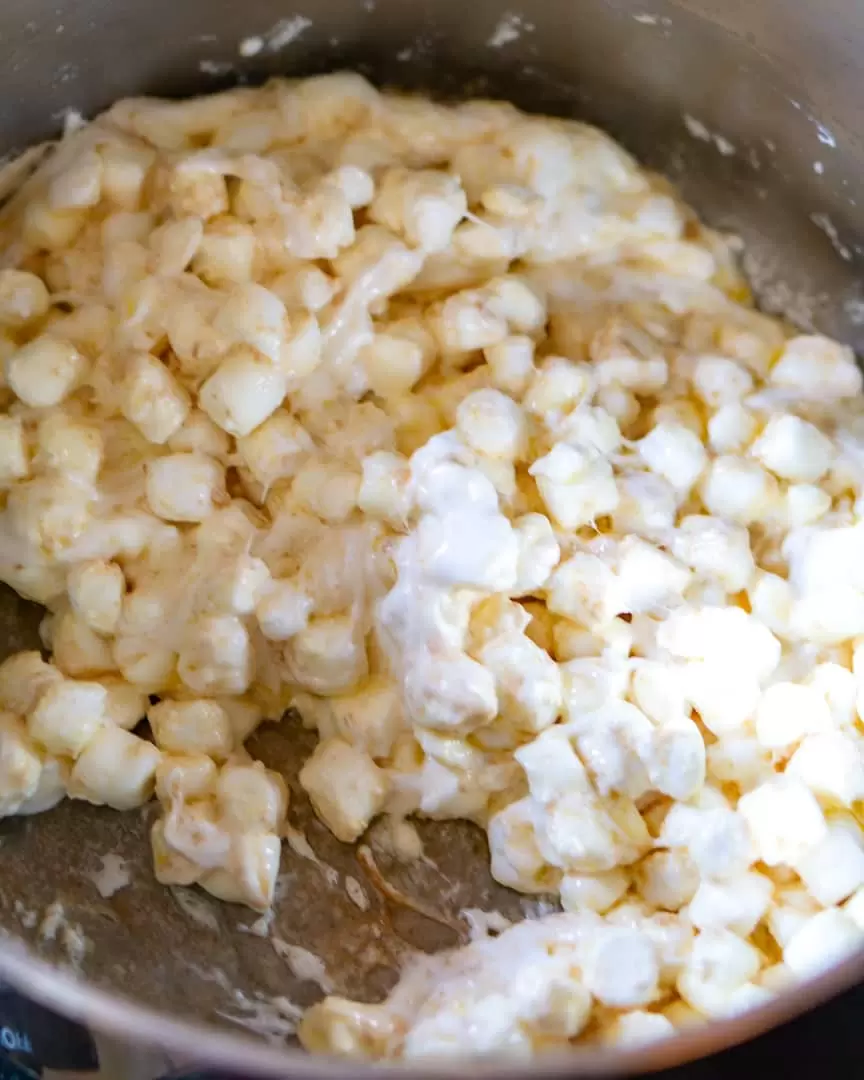
- Once the butter is ready, turn off the burner and immediately add in the mini marshmallows. Leave the pot on the hot burner and slowly melt the marshmallows until it’s smooth mixture.
- Add in the rice krispie cereal and mix until fully combined and all the rice krispies are coated in the butter/marshmallow mixture.
- Pour the rice krispie mixture onto the prepared 13 x 9 pan; spread and gently press (do not pack it in to avoid a dense and hard rice krispie treat) to an even layer. You can do this using a greased spatula, wax paper, or greased hands.
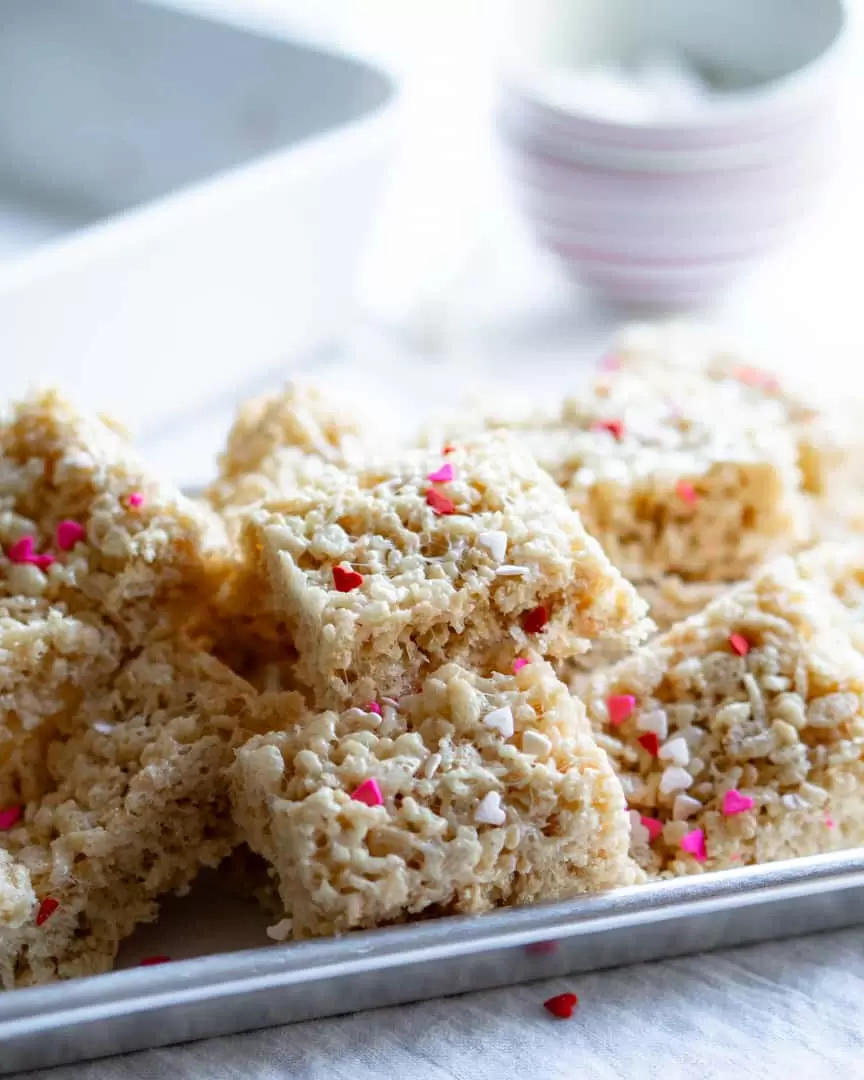
- Top with sprinkles/jimmies if desired.
- Sprinkle with Maldon Sea Salt Flakes (optional).
Recipe Tips and Tricks
When browning the butter, keep the heat to medium low, the butter will foam and slowly you will see small brown bits on the bottom of the pan.
You want to take your time melting the marshmallows. Turning the burner off then adding the marshmallows will ensure they melt slowly and not burn.
Gently press the rice krispie mixture into the prepared pan, if you press to hard the rice krispie treats will be come hard.
If the rice krispie treats become hard, simply place in the microwave for 5 -10 seconds to gently warm back up again.
Storage Tips
Store covered in plastic wrap up to 3 days.

Salted Brown Butter Rice Krispie Treats
Equipment
- 1 Dutch Oven or Large Pot
- 1 13 x 9 Baking Pan
Ingredients
For the Baking Pan
- 1 tbsp Butter or you can use cooking spray
For the Rice Krispie Treats
- 6 tbsp Butter, salted
- 6 cups Mini Marshmallows
- 6 cups Rice Krispie Cereal
- Maldon Sea Salt Flakes (Optional)
Instructions
- Grease a 13 x 9 pan with 1 tbsp of butter and set aside, or you can use cooking spray to lightly coat the pan.
- Add the butter to a large dutch oven or pot and gently melt over medium-low heat until brown bits fall to the bottom of the pot 5-7 minutes. Keep an eye on it so it doesn't burn.
- Once the butter is melted and browned leave the pot on the burner but turn the burner off and add the marshmallows. The heat from the warm butter and hot burner will help melt the marshmallows.
- Gently stir until the marshmallows are fully melted, don't rush the process.
- Once the marshmallows are fully melted add in the rice krispies until they are fully coated in the butter/marshmallow mix.
- Pour into the greased baking pan. Gently spread and press into an even layer. You can use a greased spatula, wax paper, or greased hands. Be careful and just gently press to prevent them from getting hard once they cool. (Do not pack the mix in)
- Top with sprinkles/jimmies if desired.
- Sprinkle Maldon Salt over the top (Optional)
- Cool completely before cutting them into squares.



The brown butter in these really sets them over the top! Having never browned butter before, I appreciated having the photo. These are delish and will definitely be made again!
So glad you loved them.